Let’s See How You Can Use This Plugin
After successfully install and activate the plugin now you can follow the below steps to configure the plugin.
Prerequisites
1. To Use GHL Connect For Woocommerce - Pro must be install the Woocommerce plugin in the Wordpress.
User Guide:
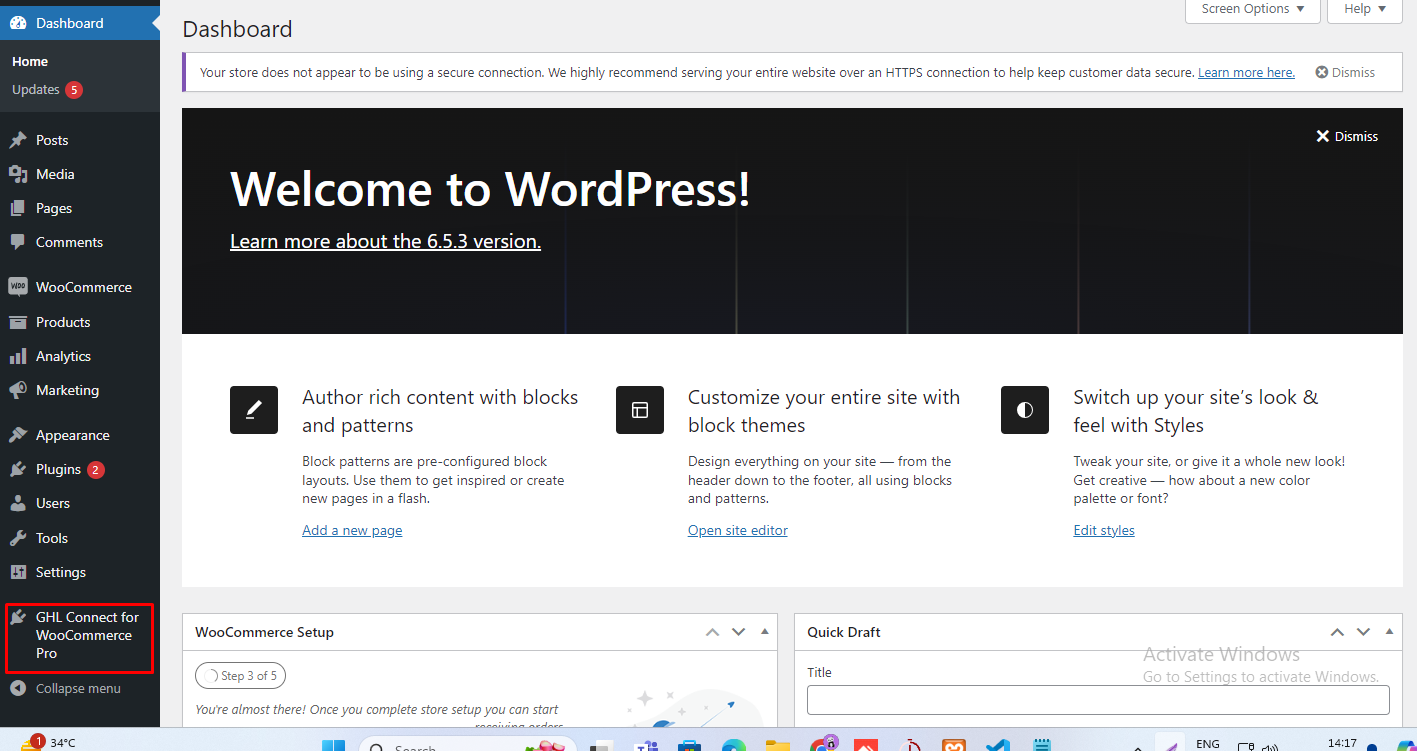
- Step-1: First go to the wordpress Dashboard and navigate the GHL Connect For Woocommerce - Pro side menu.
- Step-2: Now you can see the plugin setting page.To get the latest update of the plugin you need to click the License tab and put the License Key inside that you received in the email when purchased the plugin and Click the Acitvate button. Then, click the Sync License button to verify whether your current license key is valid.

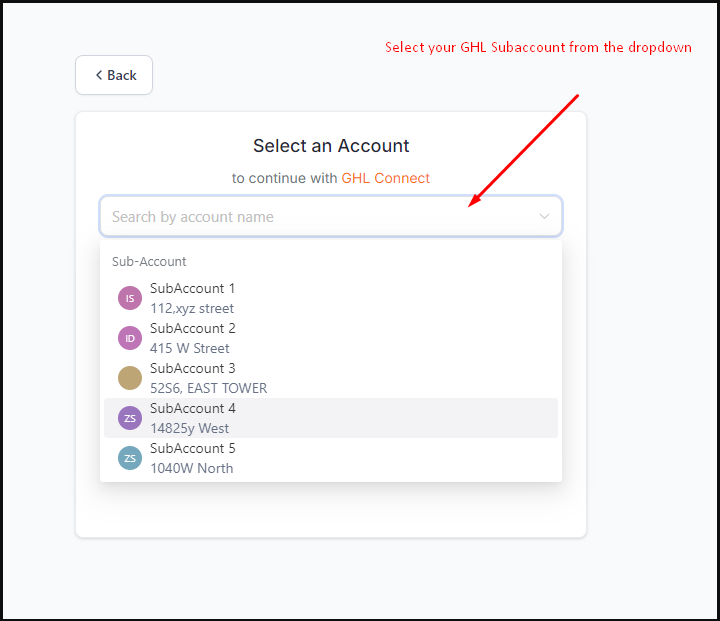
- Step-3: Click on the Connect With GHL tab where you can connect your GHL account by clicking the Connect GHL Subaccount button.After clicking the Connect GHL Subaccount this page will open,you need to select your subaccount from the list.


- Step-4: If you want to connect another GHL Subaccount Location you can do it by the Connect Another Subaccount button.

- Step-5: Navigate the Trigger Option tab where you can set the order status for Physical Products and Downloadable Products based on that after purchasing the leads will be generated in the GHL CRM.

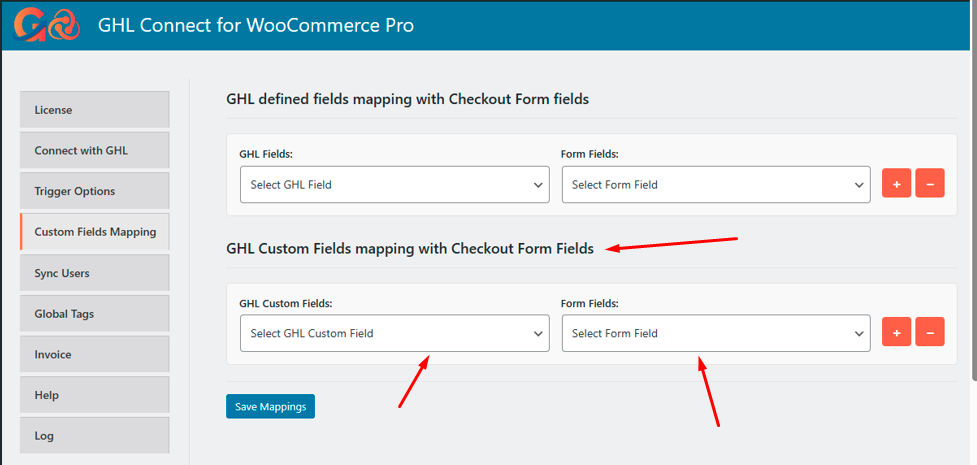
- Step-6: Now navigate to the Custom Fields Mapping section, where you can map your checkout form fields with both GHL Defined Fields and GHL Custom Fields.
Map GHL Defined Fields with Checkout Fields:
Select a GHL defined field from the dropdown, then choose the checkout form field whose data you want to map to that defined field.
Note: The checkout form must have either an email or phone field mapped to a corresponding GHL defined field in order to successfully send the lead to GHL.


Map GHL Custom Fields with Checkout Fields:
Select a GHL custom field from the dropdown, then choose the checkout form field whose data you want to map to that custom field.

Note:
To add more mapping fields, click the + button. To remove a mapping field, click the – button.
- Step-7: To sync all wordpress user to GHL CRM, go to Sync Users tab and press SYNC USERS button.

- Step - 8: Set global tags, and these tags will be triggered when no product-specific tags are saved. If you want to send the order status (e.g., processing, completed, on hold, etc.) as tags, you can check this checkbox.

- Step-9: When someone purchases any products from woocommerce Invoice will be created in GHL CRM.To enable this feature just click the checkbox and click Update Settings.

- Step-10: Navigate the Help tabs for any query.

- Step-11: If you encounter any issues with contact creation or connecting to GHL, you can easily troubleshoot them. First, navigate to the Log tab. If there are any errors in the form, the error message will be displayed on the screen.

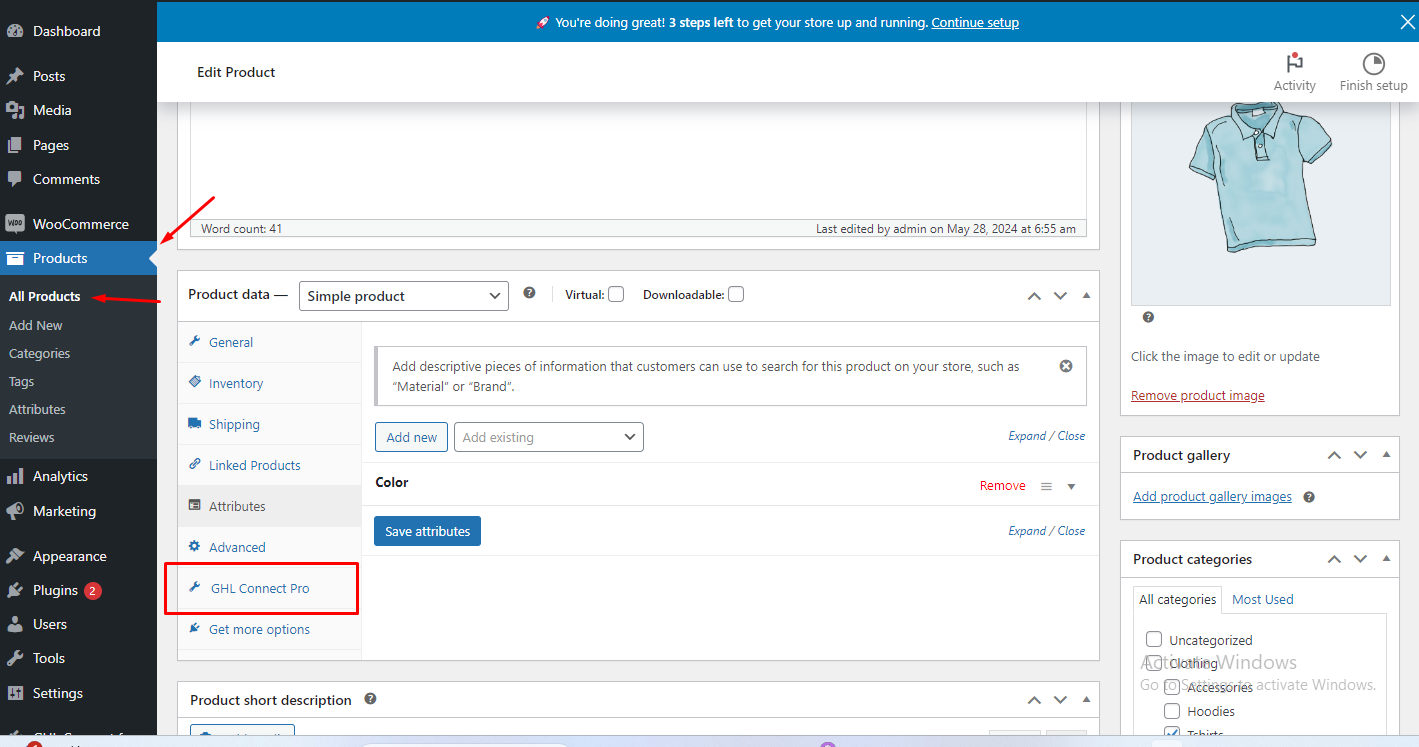
- Step-12: Now Select a product in Woocommerce and go to it edit options page. You can see GHL Connect Pro side menu its visible click on that.
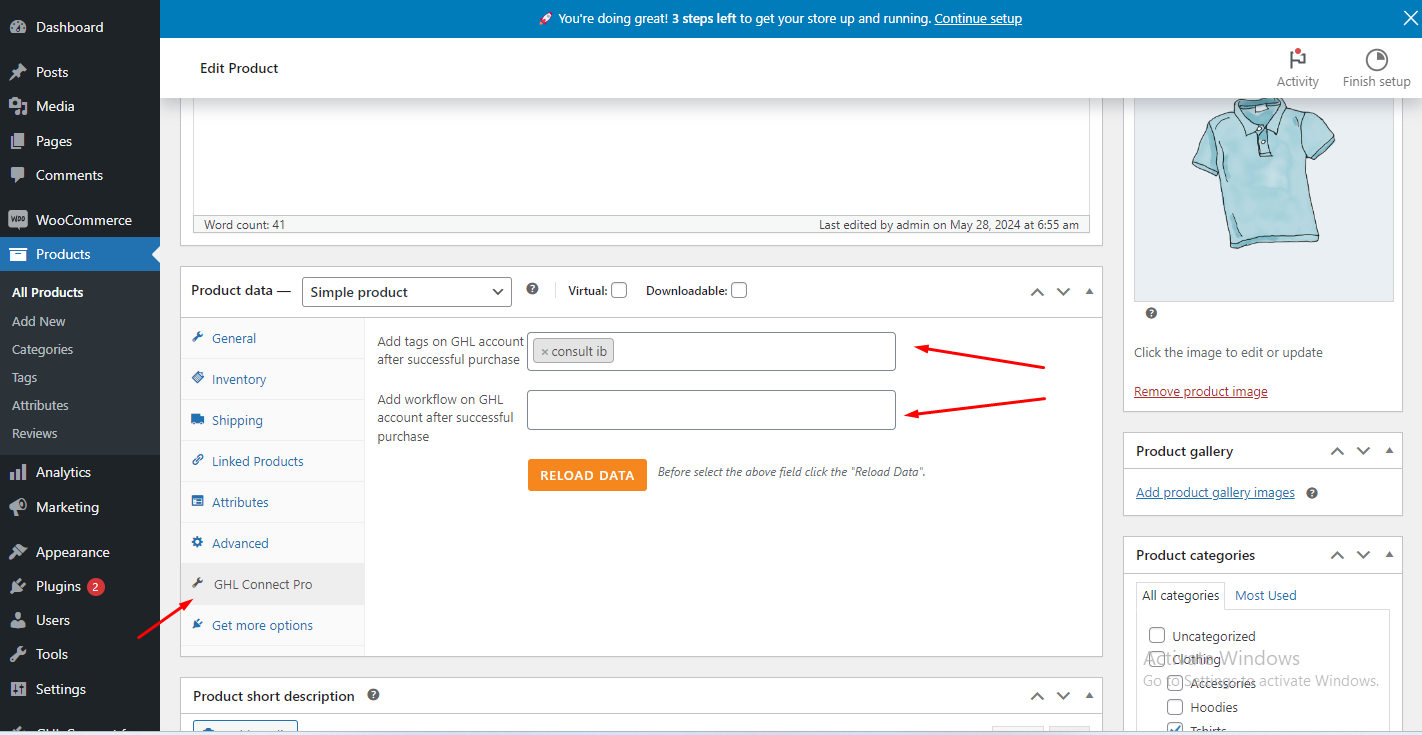
- Step-13: After Clicking the GHL Connect Pro side menu you first need to Reload Data and after that you can set Tags & Workflow that will automatically came from the connected location, and at last click the Update option inside the edit product page and purchase the product.
- Step-14: To set variation-specific tags for a variable product, go to the Variations tab, select the variation product and go to the edit section then enter the tags in the Variation Specific Tags field, and if you want to send multiple tags then separate them with commas.

Note: if you want to send only the Variation Specific Tags then clicked the checkbox below.

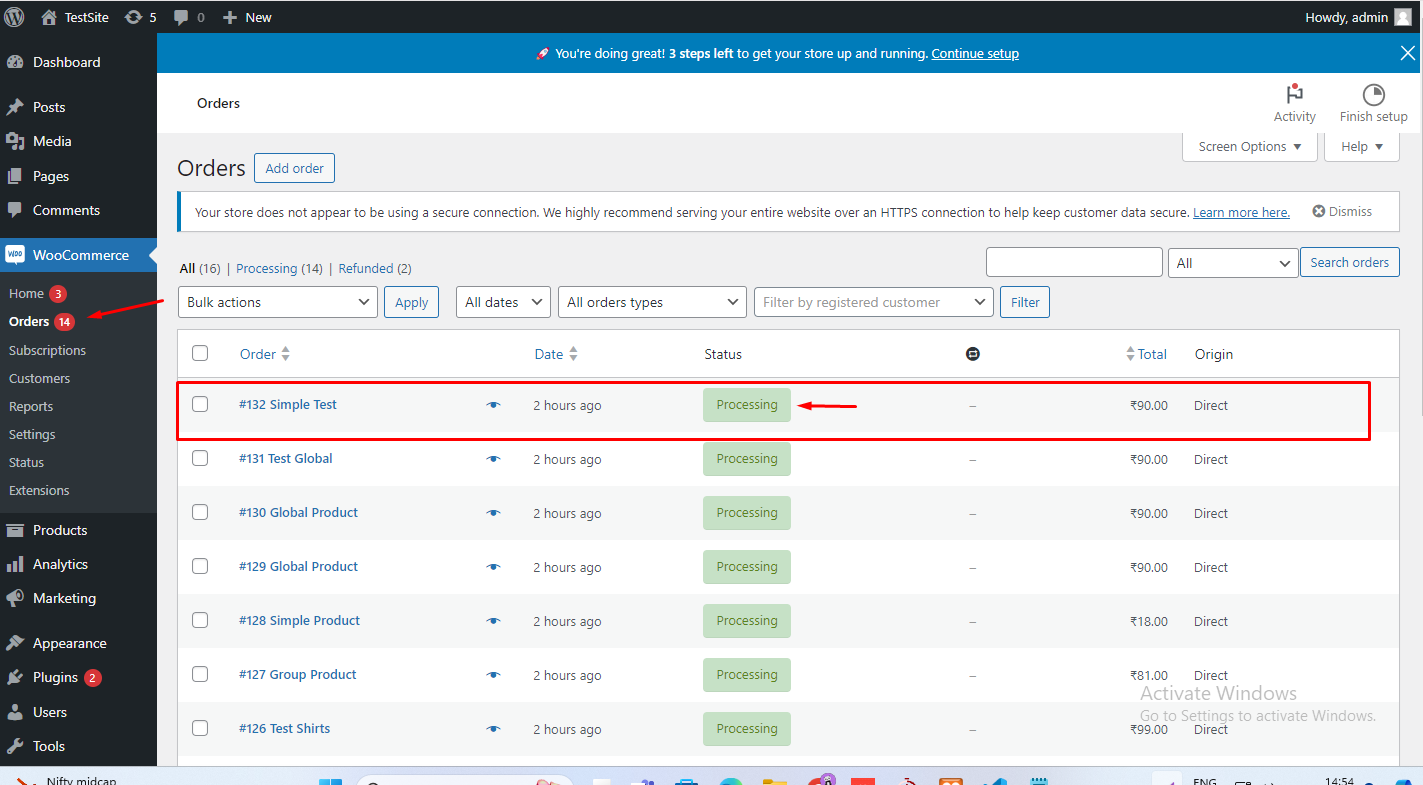
- Step-15: After successfully purchasing the product go to woocommerce order page and ensure the recent purchase product order status is the same as the Trigger Options you set in the plugin.
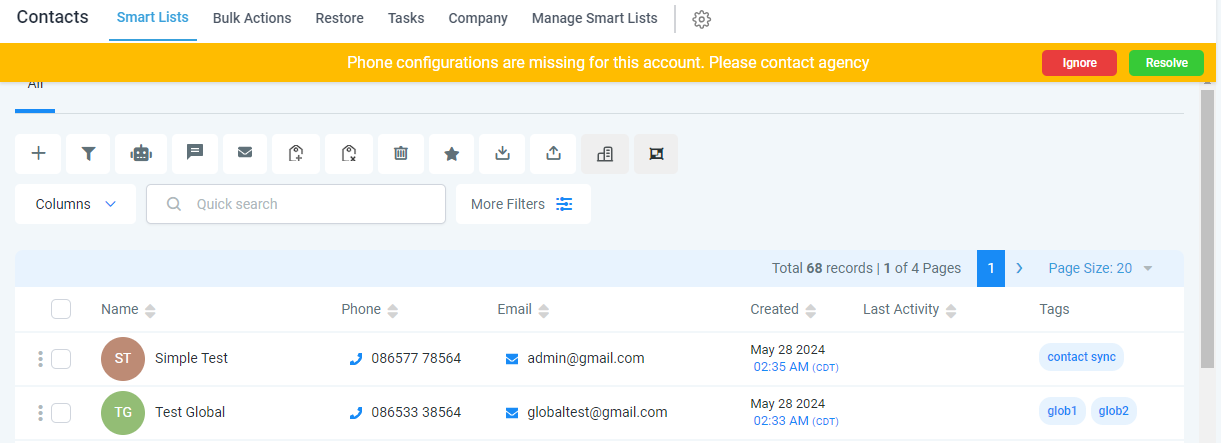
- Step-16: Now go to your GHL account that location is connected in the plugin and check it contacts menu you can see all data of the customer are send with it Tags and Workflows.
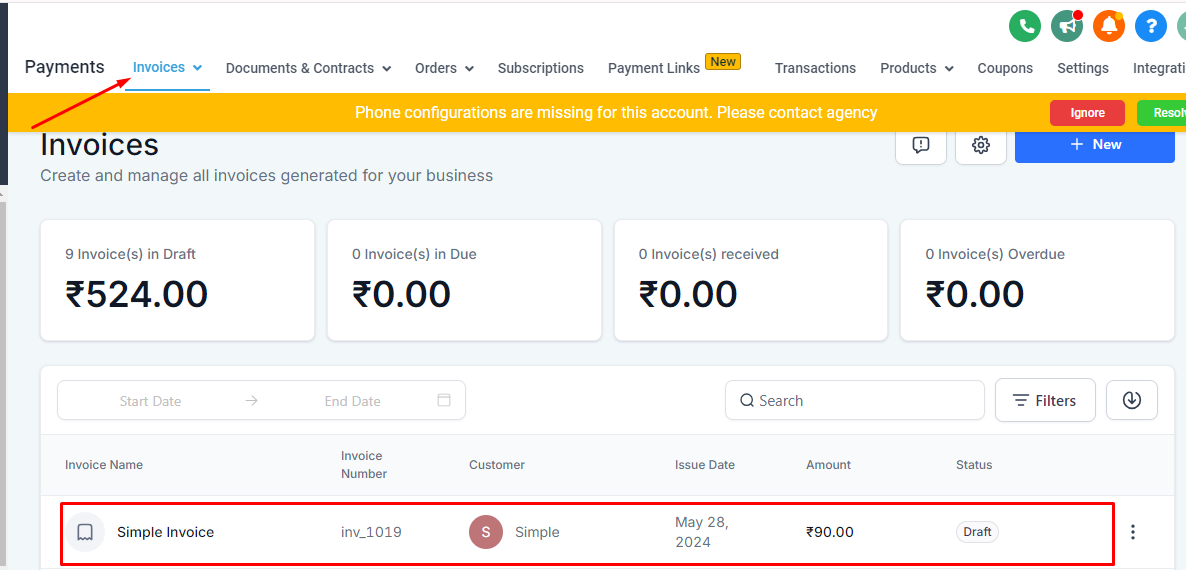
- Step-17: This is the example of Invoice that will created after purchased a product.